
Basement walls are prone to water damage. The presence of moisture in your cross space can be a big problem. It can lead to issues like mold formation, ineffective insulation, water damage, etc. Installing a vapor barrier is very useful to keep moisture away from the basement by making a protective layer. Being also called moisture barrier, it gives extra protection to the basement walls from the moisture. It generally encapsulates insulation in the crawl space. People generally install a vapor barrier while constructing a new house or remodeling of the basement.
Installing a vapor barrier is not that difficult if you are using the right tools and have some spare time. Follow these steps to install a damp barrier and prevent the moisture seeping inside your crawlspace.
Choosing the type of vapor barrier
You need to choose the type of vapor barrier first to get started. You can either choose weatherproofing material that can be applied on the walls through paintbrush which will act as a barrier. Another option is rubber barriers available in the roll form which can be unrolled and fixed on to the wall.
Preparation
The vapor barrier is to be placed on the wall. Hence, the walls should be cleaned beforehand so that there should not be any water or moisture on it. The gaps, cracks, and holes in the wall should be repaired as well. You can start installing the vapor barrier once the wall is completely dry. Now measure the size of the walls accurately to protect it properly.
Measuring the vapor barrier

Once you finish measuring the walls you have to mark the measurements on the vapor barrier with chalk or pencil. Post the measurement, the material should be cut carefully with a knife or sharp scissors without causing any damage. Make sure to cut the material 2 inches extra to put it below the bottom of your crawlspace.
Installing the vapor barrier
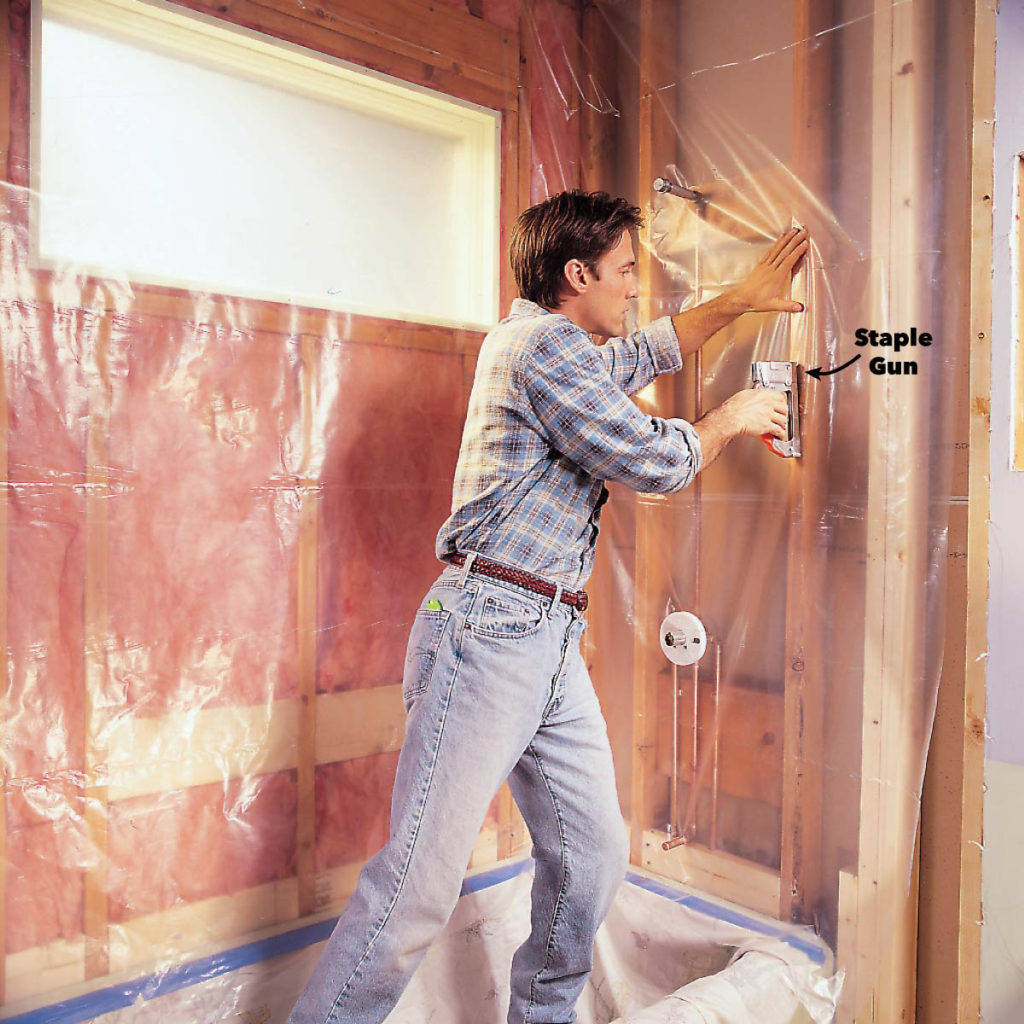
Now you are ready with a material cutout to be placed on the basement walls with the help of staple gun, nails and specialist tape, etc. Do not put too many nails or else it will damage the sheet.
Make sure to check if it has been fitted properly or not to avoid any loopholes.
Buy good quality of vapor barrier material and spend time fixing it properly to make it work efficiently. Make sure the wall is dry before installation and does not have any holes and cracks or else the whole effort will be a complete waste.
So, here you go! This is how you install a moisture barrier successfully by yourself. This might seem overwhelming if you have less time to invest and do not have a proper understanding of how to use tools and where to buy the proper material required as per the needs of your crawl space area.
What you need to do in this case is take professional help in installing a very efficient vapor barrier which will last longer and do its job properly. At crawlspace remedy, we use the best quality of materials to fix the vapor barrier in your crawlspace area. We start with your crawlspace inspection to understand what kind of vapor barrier would be best suited. We make sure that your walls are completely dry and ready to be covered with the moisture barrier. Our professionals will quickly finish the task without involving any hassle to you at a very reasonable price. Call us at 206-387-8563 and fix an appointment to install an efficient and quality vapor barrier near you.